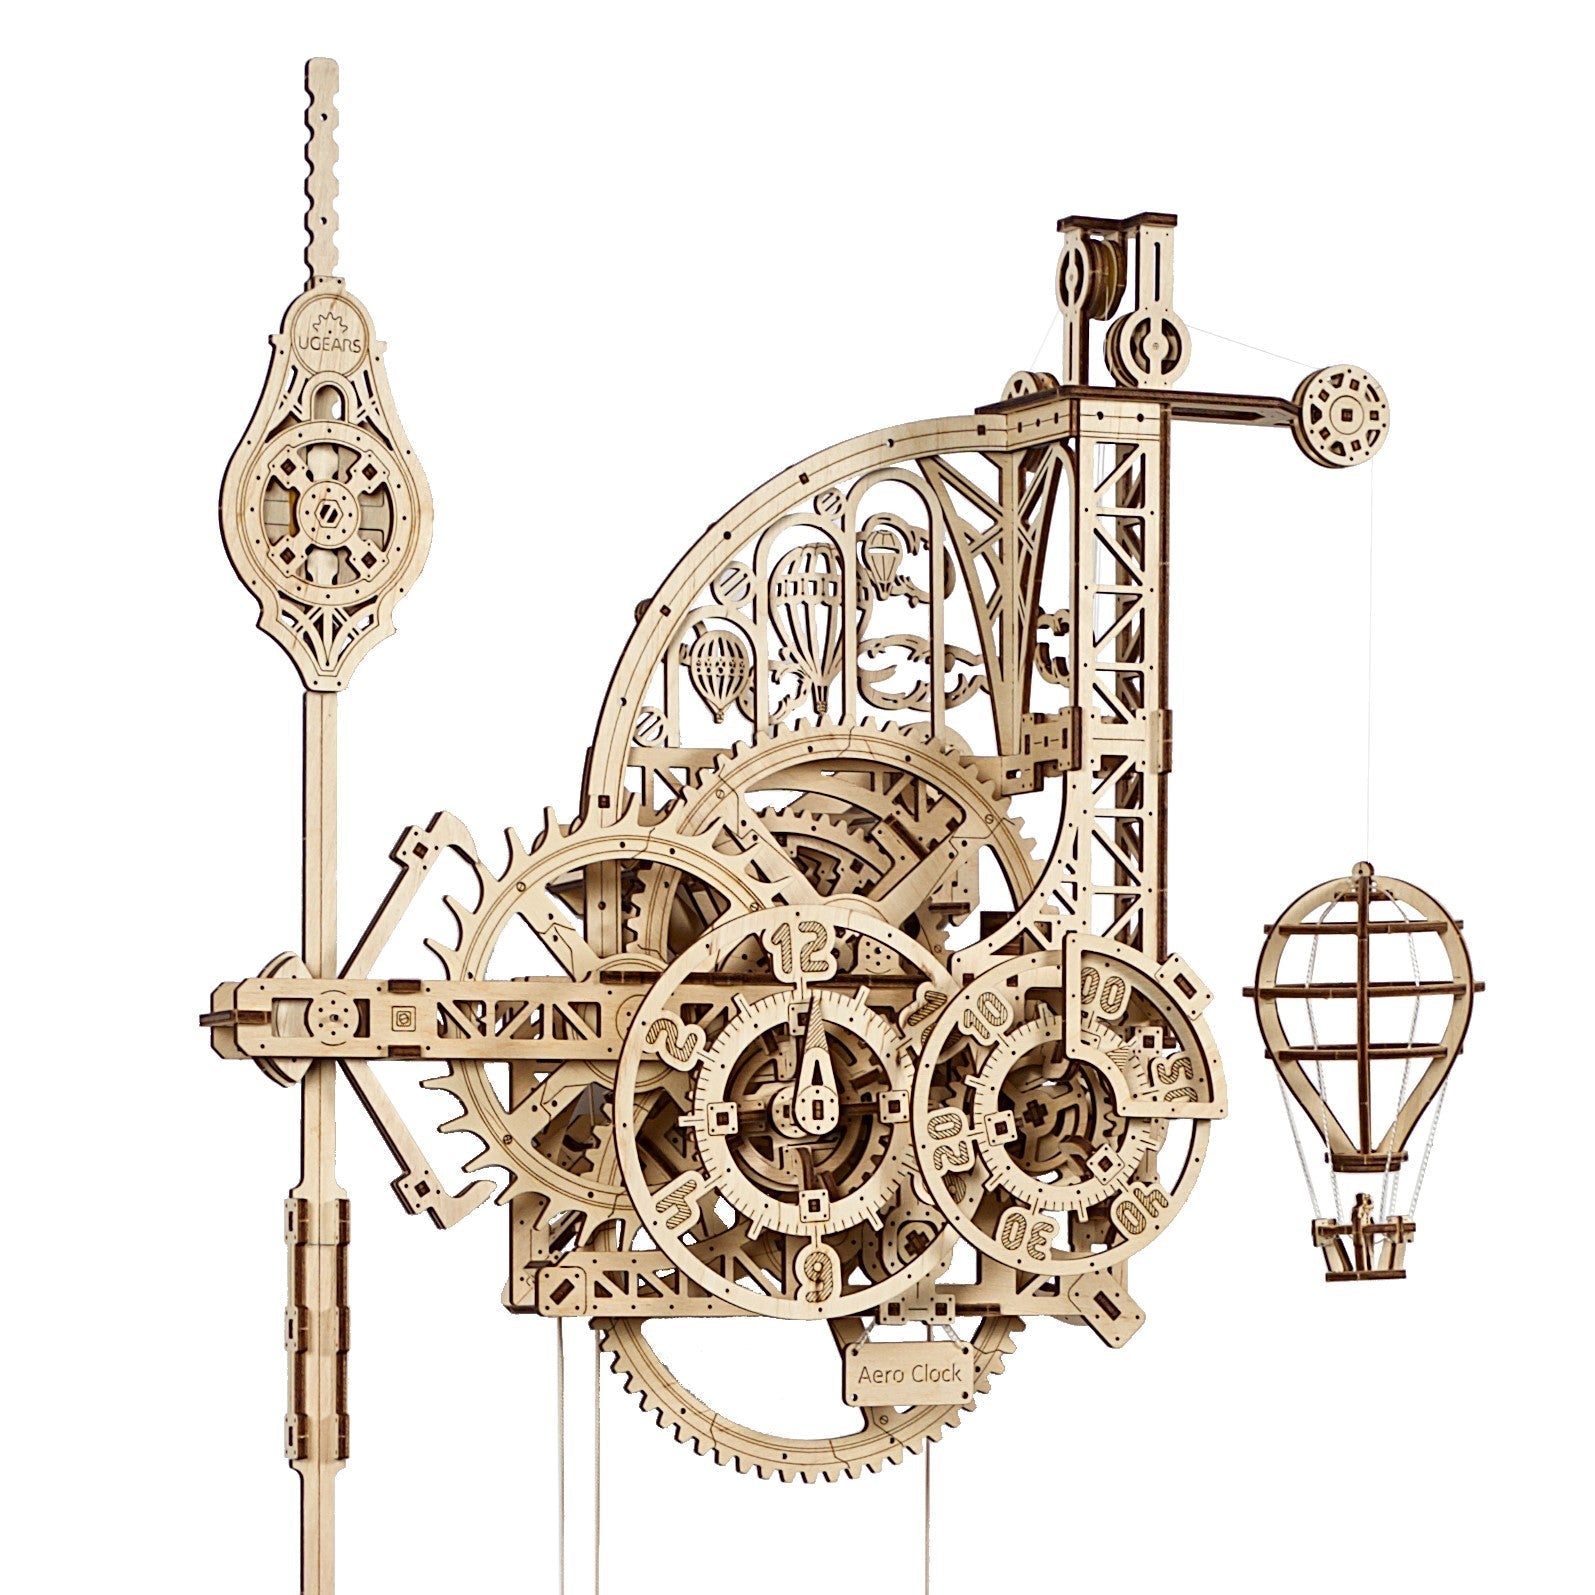
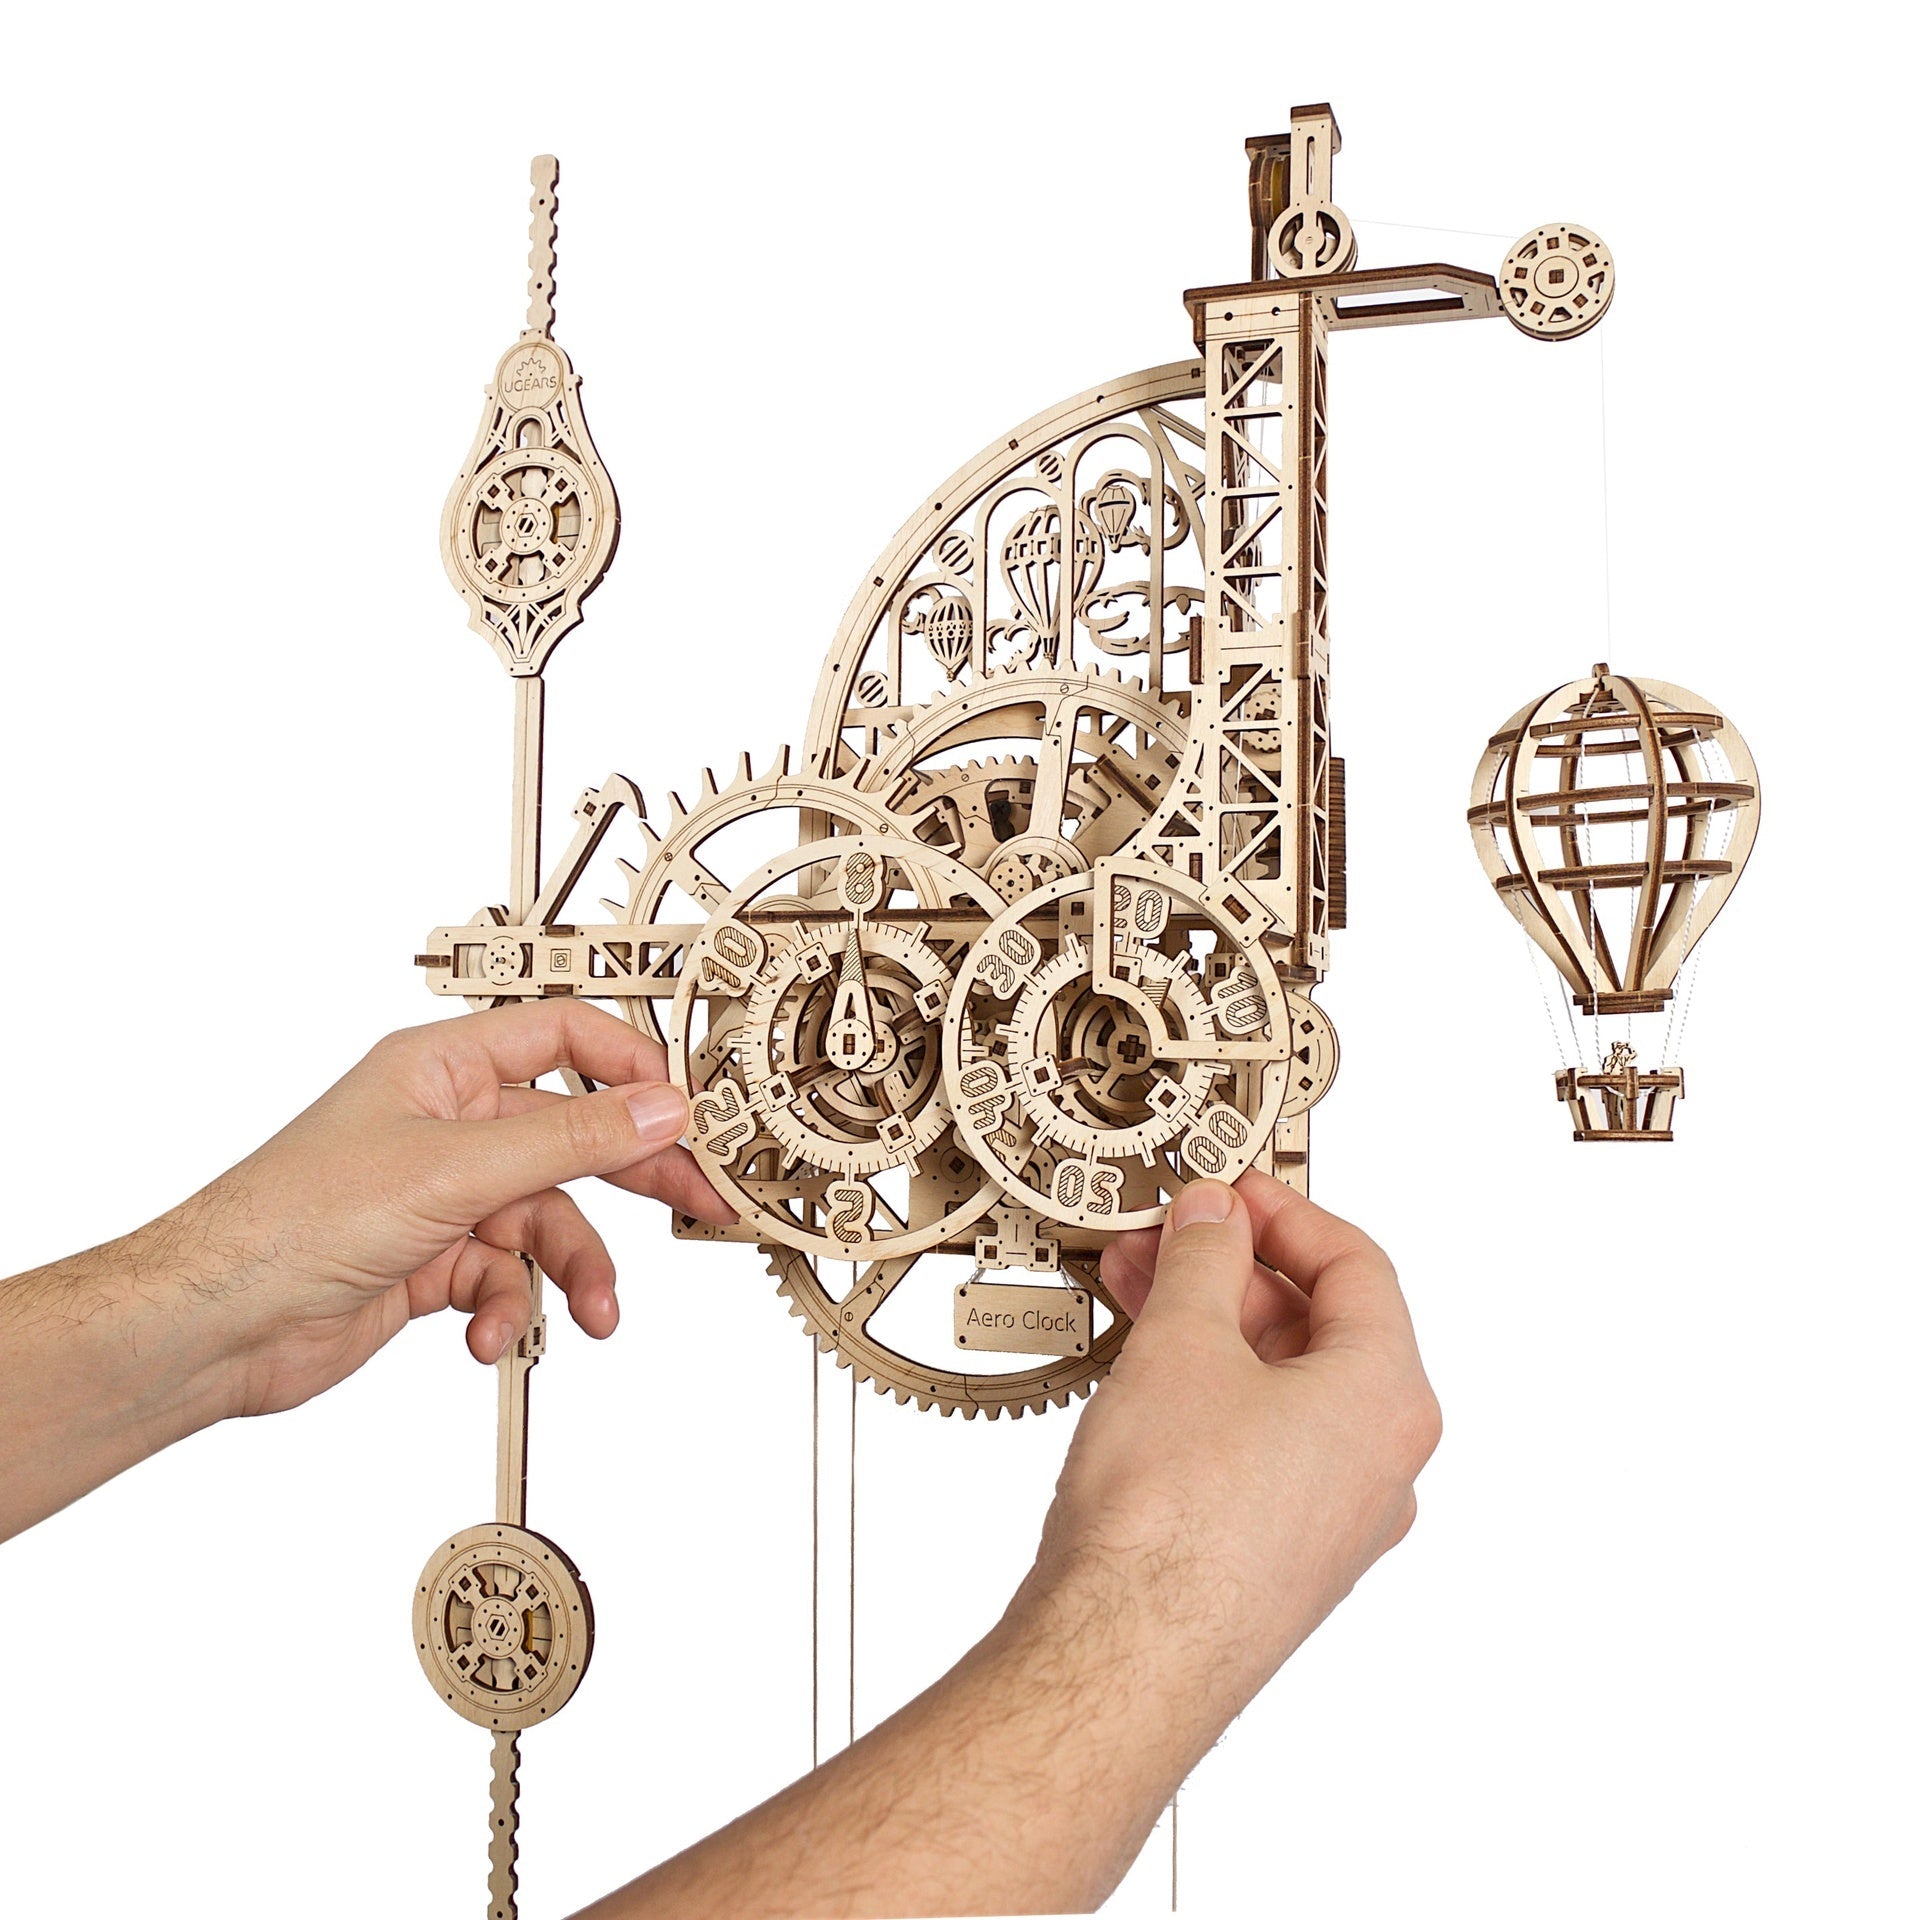
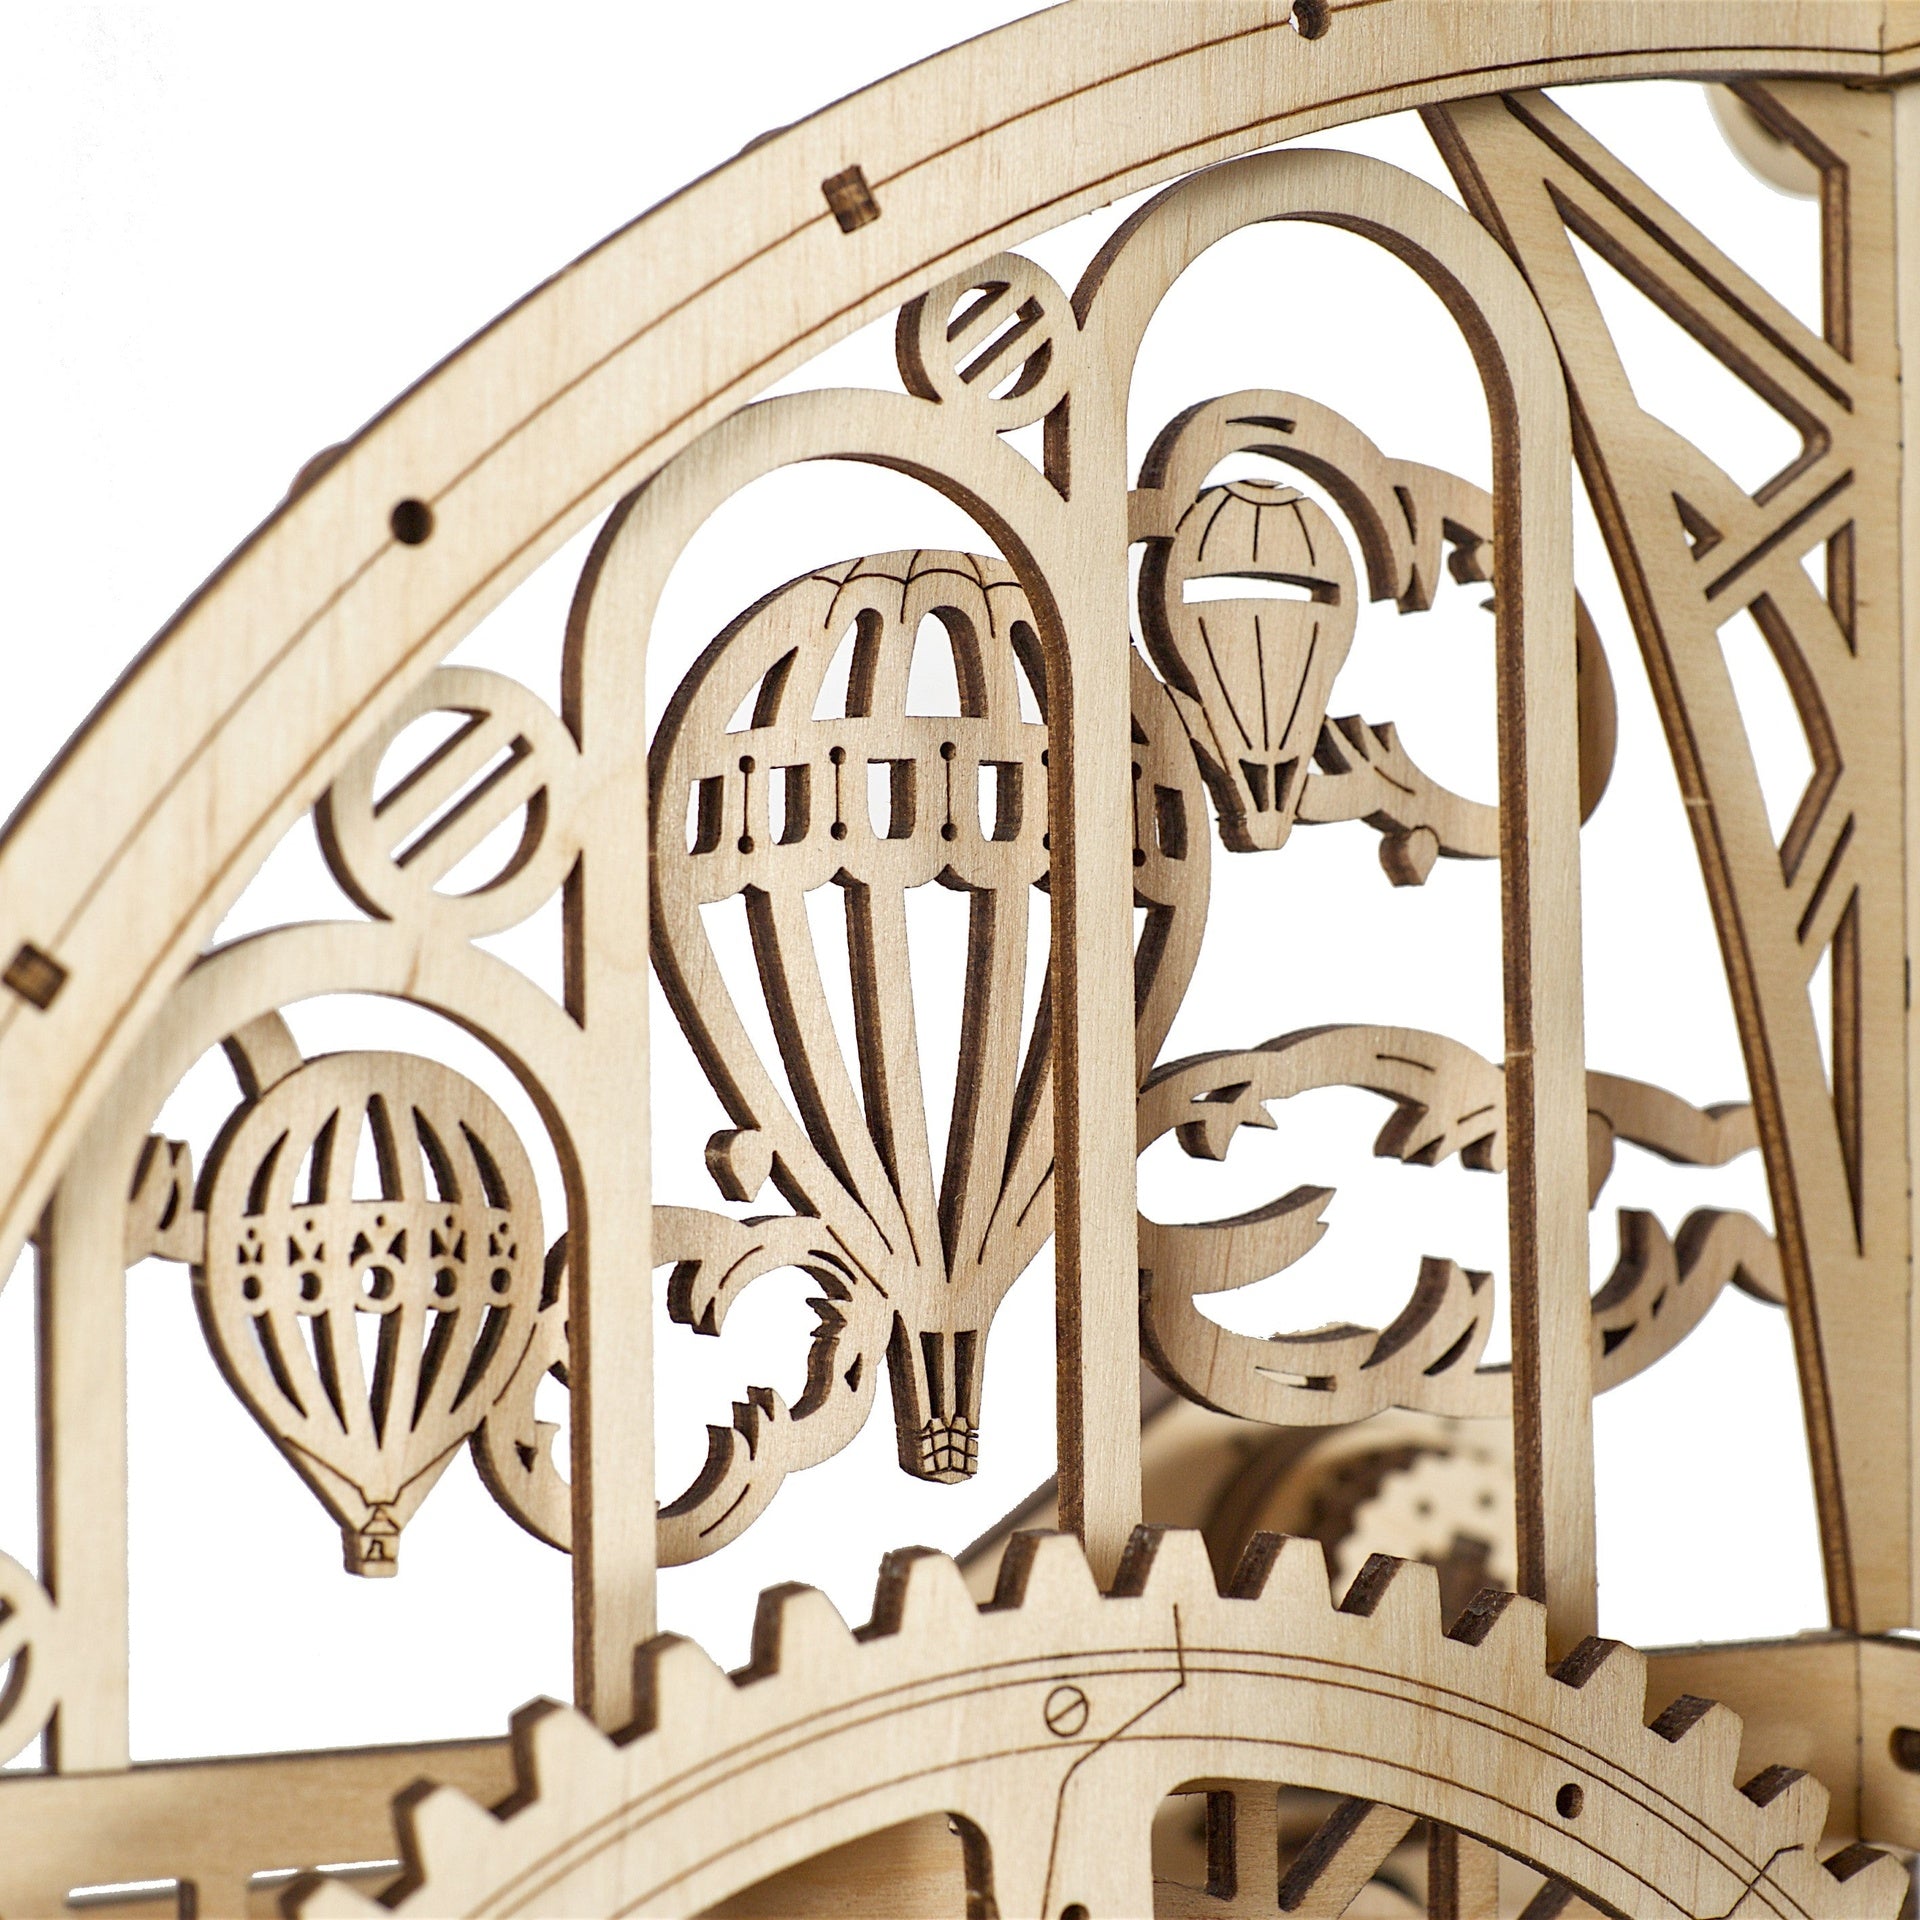
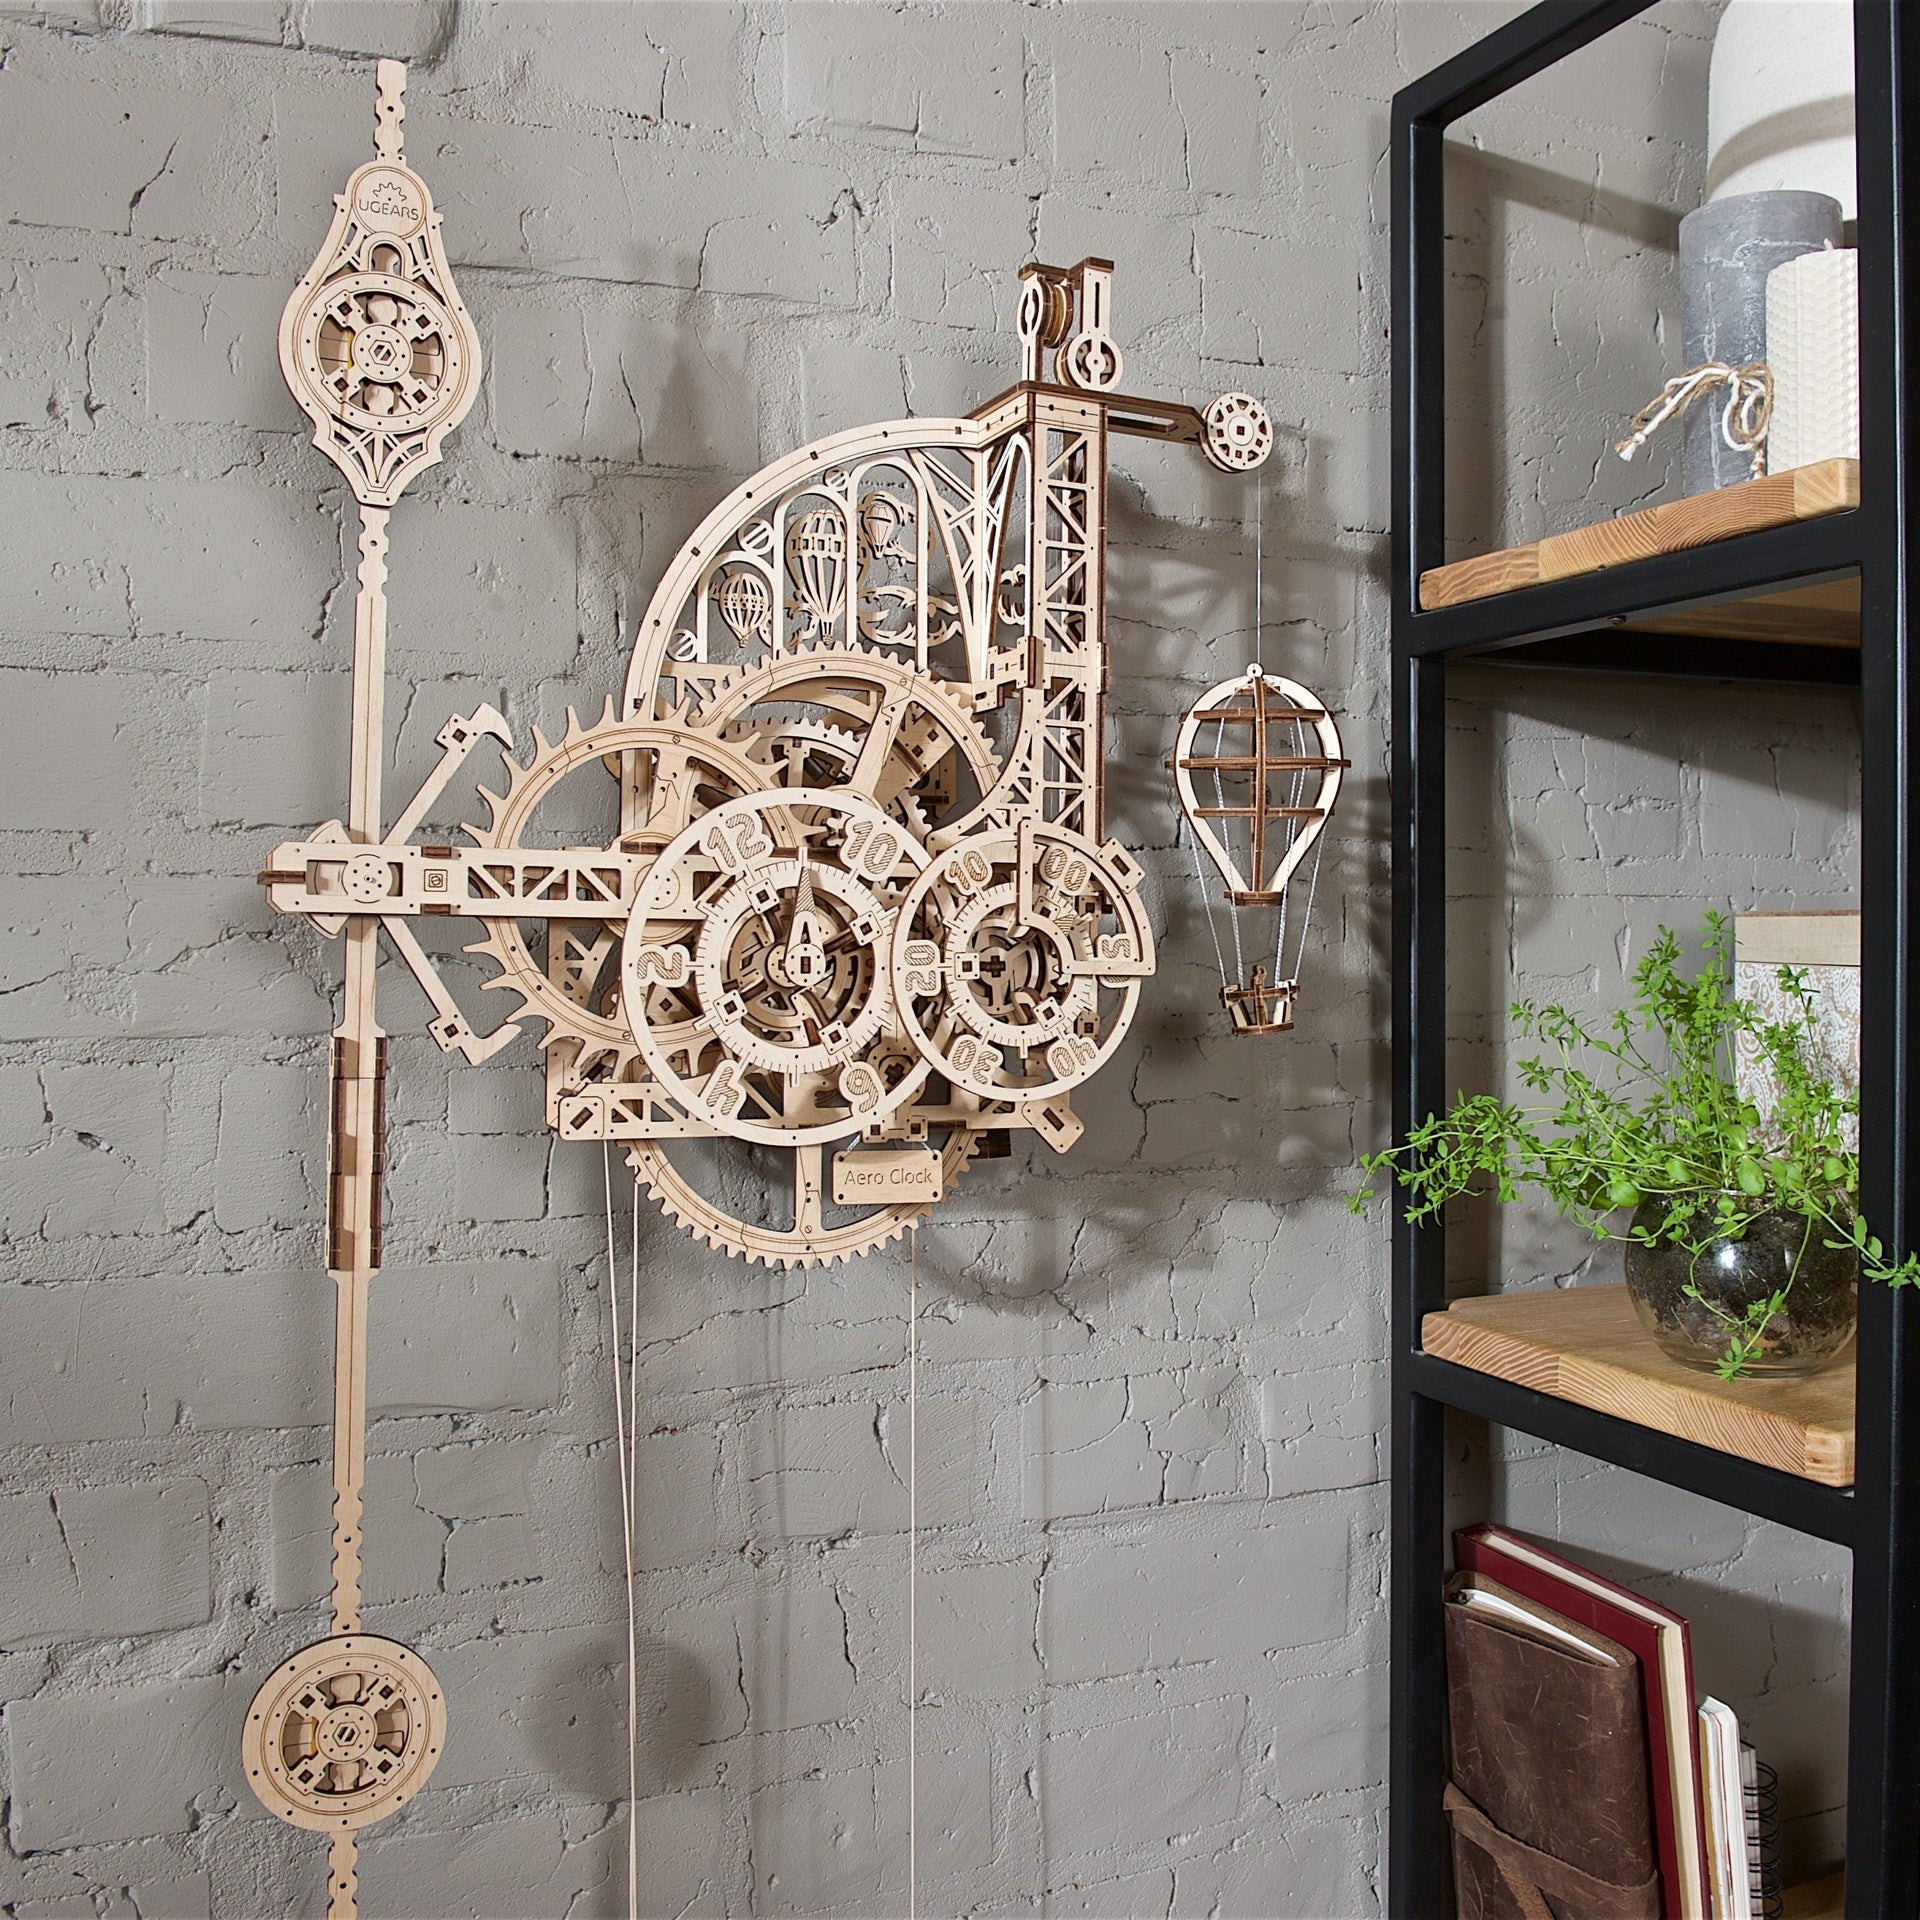
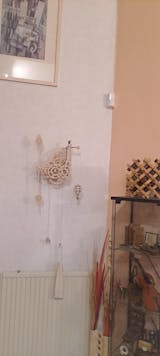
This model kit provides an interesting challenge for any moderately experienced modelmaker. The design is intriguing and quirky and the pieces are precisely engineered to produce a kit that fits together nicely. Ensure that the instructions are followed and that any lubrication is not skimped on.
Use salt to fill the cloth bag as it is cleaner than sand and just as effective. At least 2kg is needed to provide enough power for it to work properly although the weight causes the drive gear to go out of alignment causing it to stop. To solve this I figured that taking it apart and gluing it would have little effect.
The solution is to support the "x frame" with an extra screw in the bottom righthand corner. I'd recommend attaching it with the top screws 1st hooking on the bag and then pushing the clock back into alignment and marking the position for the 3rd screw. Use a right angled screwdriver.
I did this yesterday pm and 20 hrs later it's working with a nice regular tick tock.
Thank you so much for this great clock. I had much fun building it. I needed some time to get it to work, but with sandpaper and a pencil to "lubricate" some parts i now have a great wooden clock i absolutely love.
For anyone planning to buy this, here some tips: The pendulum and the escape wheel (the wheel the pendulum steers) need at least friction as possible. so for me it helped to grind the pendulum (you can alternatively grind the holding parts of the frame, thats less visible in the end) and one of the washers from the escape wheel, so they can really move freely. I now let the clock run on 1.2 kg.
For me it was annoying that the clock made a clicking noise beside the normal ticking somewhat around every 4 tics. After some search i found out, that the big cogwheel was pressed against its holdings. So sanding one of the little gears helped to loosen it a bit, the clicking noise is now gone.
Masterpiece. That is the only word fit to describe this stunning piece by UGears. After spending nearly 100 euro of pocket money but after that, I spent one of the most joyous weeks ever, putting together this marvellous clock. I was blown away by the thought put into this from the overall look to making the building process easier. I was nervous since I'm only 12 and this kit was 14+ but thank god it works. I did need to make a few small adjustments to it including removing both of pieces 91 due to excessive friction and I also had to attach a big piece of blue-tack on the pendulum's top. One thing I would advise anyone who has problems with the balloon is to make sure the nylon string is not tangled inside the frame of the clock. It completely stopped the mechanism from descending and ascending properly. I did need to put slightly over 2kg inside the sandbag as well but other than that, this clock is never leaving its wall. I am definitely buying from UGears again.
Alguien me puede decir que autonomía tiene?.
Gracias
Administrator
Hi Tonkepen! Thank you for your question. The Aero Clock model can operate for a maximum of 30 hours on a single charge (using the supplied cord and following the recommendations in the manual).
Möchte meine Rezension revidieren: der Ballon-Mechanismus funktioniert und zwar prächtig (ich hatte mich beim Zusammenbau geirrt und das Gegengewicht war zunächst etwas zu schwer und dann etwas zu leicht). Es gibt mittlerweile gute Video Anleitungen im Netz ... Jetzt habe ich eine wundervolle Uhr, die eindrucksvoll genau geht und sehr große Freude bereitet! Ich kann sie wärmstens empfehlen! Danke UGEARS!
Beautiful piece of engineering. Great instructions. Well done ugears
Went together well had to use over 5lb on weight to keep it running
Went together well some instruction confusion but figured it out only issue I have is that the instructions say weight should be 3.3-4.4 lb but I had to put over 5lb to get it to run I’m hoping that if I run it awhile to break it in I can lower the weight
A further update - I 'rebuilt' most of the clock to improve operation. I now have the 'balloon' feature working perfectly - one issue I found was that the counter-weight cord would occasionally jump off the pulley due to 'jolting' when the balloon fell. I fitted two small modifications comprising small offcuts of Biro springs to act as guides for the nylon cords. The clock is now accurate to 1 minute per 24 hours - pretty good! As has been suggested previously, reducing the weight of the bag as much as possible helps to alleviate strain on the clock frame. Mine still 'creaks' a little - so time will tell (no pun intended ... .).
Einfach nur großartig! Diese Uhr ist mit so viel Liebe und Präzision entworfen worden, dass man nur noch staunen kann. Sie funktioniert (auch wenn der Ballon die Uhr immer wieder zum Stehen bringt, das tut der Freude keinen Abbruch) und es ist wirklich schön, der Uhr beim Ticken zuzusehen und zuzuhören. Danke!
Administrator
Hi Wolfgang, thank you for your feedback!
One of the coolest gifts I have ever received. Took a while to get it broken in but runs great and precise for about 10 hours. The ballon mechanism just doesn’t work. Read the instructions several times and have tried several ways but it just seems to create enough problems to stop the clock.
But I love the design and have it hanging in the entry
Administrator
Hi Eric Wilcox,
Please contact our Customer Service Department at customerservice@ugearsmodels.com. They will get back to you within 48 hours with help in your question.
I was looking for normal simple kitchen clock. But than I saw your 3D mechanical clock and my child soul grown up with passion for all kind of models (doesn´t matter if paper, plastic or wooden) was just amazed! Ordered from local seller and spend a few hours of pure happiness building this clock and you can´t imagine how happy I was that it´s working properly! And the sound of the pendulum, beautiful. You did great job with this clock, thank you and wish you all the best with future models.
Ich bin begeistert. Sämtliche Teile passen auf den zehntel Millimeter, klemmen bzw gleiten, wo sie sollen.
Allerdings kann ich mich verschiedener Bewertungsauthoren nur anschließen: Unbedingt alle Reibungsflächen und Kanten mit Sandpapier und ggf Wachs nacharbeiten. Letzteres mit Augenmaß. Die Hakenhemmung soll an den Haken wenig Reibung aufweisen. Zuviel Wachs läßt die Haken mit dem Radzahn verkleben. Man kann nur sagen, dies ist eine Uhr ! Sie funktioniert nur mit leichtgängigem Getriebe ;-)
Super gelungen...
Administrator
Hi Torsten!
Thank you for your feedback!
Deze klok hangt sinds mei 2021 in de woonkamer en werkt prima. 's-Morgens en 's-avonds haal ik het gewicht op. Het gewicht in de zak, zout in plastic, verzwaard met vislood tot 2kg. De klok wijkt gemiddeld 2 minuten per dag af (loopt voor, dan weer achter). Heeft te maken met vochtigheidsgraad en temperatuur, hout werkt tenslotte. Af en toe (eens per 2 weken) staat de klok zonder aanwijsbare oorzaak stil, even het gewicht ophalen helpt om het systeem even te ontlasten. Om de tijd beter te kunnen zien heb ik de cijfers met een (donkere) markerstift heel voorzichtig overgetrokken, wel eerst met matte heldere acrylspray inspuiten, anders loopt de inkt uit.
Van de >35 modellen, die ik inmiddels heb samengesteld, is dit zeker de meest uitdagende, maar ook de meest bevredigende geweest, waar we dagelijks met plezier naar kijken en genieten van het rustgevende getik.
Had a blast building this. And was suffused with a warm & fuzzy feeling of accomplishment tackling all the calibration challenges after it was built and actually getting the clock to work and keep accurate time! I made a 5 minute video review with some tips: https://www.youtube.com/watch?v=IhbOHaanRnw?vq=hd1080
Das ist zwar erst mein 2. Modell (das erste war der Filmprojektor und der funktioniert super !!). Hier habe ich nun aber doch ein paar Probleme. Ich bin mir sicher, daß es an mir oder an meiner nicht so präzisen Arbeit liegt.
Ich habe mich an die Anleitung exakt gehalten, auch wenn sie an ein paar Stellen schwierig zu verstehen war. Mein Versuch, den Stoffbeutel mit 1 KG Sand zu füllen, hat leider die Nähte zerrissen. Zum Glück nicht im Wohnzimmer . Aber 1 KG Sand bekomme ich wirklich nicht da hinein. Ich habe mir mit Eisenteilen geholfen. Aber das Gewicht schafft es leider nicht die Uhr zu bewegen. Ich werde jetzt versuchen, die "Reibestellen" mit Trockenspray zu motivieren. Oder gibts es bessere Vorschläge?
Ansonsten muß ich das Teil noch einmal zurückbauen und versuchen, besser zu sein.
Aber Schluß mit dem Geheule: Mein Kompliment an die Entwickler !!!!! Alle Modelle sind GROSSE Kunst und ich werde mir noch einige dazu holen.
Von daher volle Punktzahl !!!
Danke
Administrator
Hi Manfred Benner,
Thank you for your feedback.
Please contact our Customer Service Department at customerservice@ugearsmodels.com. They will get back to you within 48 hours with help in your question.
Best regards,
The Ugears Team
bonjour,
j'ai acheté cette maquette, assemblée , j'ai respecté a la lettre le manuel. il y a des points difficiles mais je m'en suis sortis . la mise en marche c'est autre chose !! l'horloge se lance et au bout de 2 minutes s 'arréte .
je l'ai démontée 3 fois et la troisième fois, j'ai tout reponcé , les axes , les engrenages, les dents des engrenages , il faut absolument faire celà pour avoir la chance de faire fonctionner cette horloge, j'avais aussi joué sur lé poids du sac il ne faut pas mettre trop de cire, ça colle les engrenages . actuellement elle tourne , je vais procéder a la mise a l'heure , c'est pas gagné !!!
An update to my previous review: the clock is now circa four months old and I 'wind' it (reload the weight) every morning. Over the past few days the clock has been stopping frequently and I have found the reason; the stress of resetting the clock has weakened some of the joints and distorted the frame, if I temporarily straighten the frame the clock restarts and runs for a few hours but I can hear the joints 'creaking'. The only 'fix' will be to glue some of the joints. I still love this clock though ... .
As many have said - a beautiful, fun and functional piece of wall art! The necessity for waxing and sanding has been covered in other reviews. I would emphasize the need for patience during an extended "breaking-in" period. When first completed, mine would barely run for more than 3 or 4 minutes with 5+ pounds (2300+ gms) of weight. My breaking-in routine was simply to start it with a gentle turn of the gears every time I walked by it. Then a friend (well versed in woodworking) suggested decreasing the weight to decrease stress and possible deformation of the frame. Short story: After 2 -3 weeks of this it now runs flawlessly with 900 grams (slightly less than ONE kilo) of weight. I'm very curious to see just how much more the weight can be decreased while maintaining its current smooth function.
Built many Models in the past, Airfix, Revel, lego etc.. But this is the best ive built so far... 90% finished so far... But I am confident it will work.
Sie läuft und läuft und läuft. Hab das Teil zu Weihnachten von meiner Tochter geschenkt bekommen. Hätte nie gedacht, dass ich das mal zum Laufen bekomme. Aber sie geht.
Soy un asiduo y experimentado montador de sus maquetas y jamás he tenido problema alguno. Ahora estoy montando el Reloj Aero y todo va bien hasta que llega la hora de montar las cuerdas. Las fotos son muy engorrosas y no consigo descifrarlas. He estado buscando un tutorial en español pero no lo encuentro. ¿Pueden ayudarme en este sentido? Gracias.
Administrator
Hi RAFAEL RAMOS RODRIGUEZ,
Thank you for your feedback.
Please contact our Customer Service Department at customerservice@ugearsmodels.com. They will get back to you with help in your question.
Best regards,
The Ugears Team
Mon message est il parti?
Administrator
Hi Bunny,
Thank you for your feedback.
Please contact our Customer Service Department at customerservice@ugearsmodels.com. They will get back to you with help in your question.
Best regards,
The Ugears Team
Intéressant mais bloque sur le passage des cordes en page 36 ! Vidéo possible ?
Grand merci
Administrator
Hi Bunny,
Thank you for your feedback.
Please contact our Customer Service Department at customerservice@ugearsmodels.com. They will get back to you with help in your question.
Best regards,
The Ugears Team
after two weeks i m,anage to make it gain ony 30 seconds a day. 1280 grams of wait. beutifull
Brilliant model kit, instructions faultless, but must follow closely. My Aero clock works well, keeping reasonably accurate time.
Only issue I had was making the ballon, was very fiddly, had to use some of my magic glue, but turned out successfully.
Not cheap, but certainly a quality kit, which I totally enjoyed making.
Going to build the Sky clock, hope it works as well as the Aero clock???
As has been stated, it can take a while to get the clock running properly but after a few attempts and adjustments mine runs well and keeps fairly good time. It looks great and the ticking is hypnotic. I haven't bothered with the balloon lift feature. Pity it only runs for just over 24 hours before the weight reaches the ground and the clock stops - due no doubt to the materials used i.e. wood! Yet another UGEARS model made - pity that I'm running out of space ... .
Una de las recomendaciones que leí de algunas personas que lo habían montado es la de darle una capa de lubricante seco con PTFE, compré un spray y fui rociando las piezas susceptibles de rozamiento, así como un lijado delicado de las mismas.
Lleva dos días funcionando sin parar, día y noche, a la perfección, le he ido regulando la velocidad del péndulo y funciona como un reloj de pilas.
Mis amigos y familia que lo han visto se han quedado perplejos de la maravilla que es este reloj, alguno de ellos ya se lo han pedido para montarlo.
Resumiendo, Sres. de UGEARS , MUCHAS FELICIDAES, han conseguido que el diseño, precisión y funcionamiento de este reloj sea una auténtica MARAVILLA.
Meine Kinder haben mir diese Uhr geschenkt. Getreu dem Motto: "was Opa nicht hin kriegt klappt auch nicht ".
Ich bin von diesem Modell vollauf begeistert. Die Anleitung ist sehr präzise und wenn danach gehandelt wird, funktioniert die Uhr sogar sehr gut. Ein Tipp für die, dessen Modell erst zusammen gebaut wird. Benutzt, wenn möglich, noch feineres Sand Papier arbeitet sorgfältig Alle Flächen nach. Je weniger Grad verbleibt und je besser ihr das Wachs aufträgt, um so besser läuft die Uhr. Ich habe bestimmte Stellen, an denen Räder und Gestell aneinander reiben mit Trockenspray behandelt. So nun viel Freude mit diesem tollen, und funktionierenden Model.
Administrator
Hi Theo!
Thanks for your feedback. We are glad that you liked the Aero clock model!
Please feel free to share the images of your assembled model in the Ugears Fan Club in Facebook - https://www.facebook.com/groups/ugearsfanclub
Have a nice day,
The Ugears Team
Excellent kit. Requires preplanning each phase. Tips
1. Have extra candle wax handy.
2. De-burr all burrs as some can form catches for the lines.
3. Use fine sandpaper on faces of gears and structure which contact each other.
4. Ensure gear profiles are cleanly detached from board.
5. Assembling balloon and counterweight line make sure long length is to back of drum and counterweight 3 turn wind is behind balloon short length.
6. Balloon drop needs to be smooth and steady as bouncing of counterweight could cause its line to jump off pulley. Use half a disc if necessary to fine tune this.
7. Winding cord trolley needs a small weight inside to ensure it stays to bottom of cord loop.
8. Align clock with a laser level if poss.
9. Give clock time to bed in. Best to disconnect balloon gearing as this caused me most hang-ups and stoppages.
I hugely enjoyed assembling my Aero clock (apart, perhaps, for that ruddy balloon!) but will admit that I didn't really expect that it would run particularly reliably. However it started no problem as soon as I hung on the weight and has carried on with perfect reliability ever since - in fact I have been able to reduce the weight to 1100 grammes (it made a fuss with 1 kilo!). It keeps time to within 1 minute a day, with slight variations up and down so I find I only need to reset it once a week. I would comment, though, that the pendulum does not balance perfectly - it hangs a few degrees clockwise from the vertical - hence the clock frame has to be tilted slightly to achieve the necessary even tick, and this tilt is sufficiently obvious to mar the look of the clock hanging on the wall. Otherwise I have no complaint - I think the clock is absolutely brilliant and just wish that I had a good excuse to buy another one!
El reloj es espectacular y precioso. Me encanta ver como funciona la mecánica.
En contra de lo que se dice, funciona perfectamente.
El montaje es complicado pero si se siguen correctamente las instrucciones y con un poco de cuidado, no hay problema.
Como advertencias: cuidado con la cera. No poner demasiada para que no queden trocitos entre los dientes de las ruedas que puedan obstruir el movimiento. Simplemente frotar. Y poner cuidado con las ruedas grandes porque si se quedan un poco torcidas, la mecánica se fuerza y el reloj termina parando. Otro punto delicado es montar las cuerdas del globo aerostático.
Lo malo: la bolsa del peso. Entra menos de 1,5 kg. Para poder llegar a los 2 kg que dicen las instrucciones, he tenido que meter dentro, entre la sal, dos pesos de buceo de 0,5 kg cada uno.
¡Felicidades por esta maravillosa maqueta!
I may be only fourteen, but I think that constructing any Ugears set is very educational. Every set I have bought has taught me something new as well as fun and fascinating. This one is no different. This (almost) working clock consists of some interesting features. This clock also has a unique show of the time. While building this model, I noted that this takes patience sometimes help. Some parts are hard to put together and my clock is not working (although Im sure that most of them do) the experience has been worth it. I recommend it for 13+.
Vorweg der Hinweis. das ist mein sechstes Modell von Ugears. Aber das erste, das nicht funktioniert!
Der Zusammenbau hat Spaß gemacht, auch wenn dieser auf den Bilder teilweise sehr schlecht dargestellt wurde. Nach Fertigstellung wollte ich die Uhr aufzuziehen, was erst nach massiver Kraftanstrengung klappte.
Dann den Sack mit Salz befüllt und...
nichts passiert. Das Salz soweit komprimiert, dass ich rd. 1,5 kg. rein bekommen habe und dann geht die Naht auf - Klasse :-((
Die Uhr läuft nur, wenn ich extrem fest an dem Haken ziehe. Schade, ansonsten war ich von den Modellen begeistert.
Administrator
Hi Frank G.,
Thank you for your feedback.
Please contact our Customer Service Department at customerservice@ugearsmodels.com. They will get back to you within 48 hours with help in your question.
Best regards,
The Ugears Team
My wife and I really are enjoying the Areo clock, it's beautiful and after checking out all the creeks and adding the correct amount of weight 4.4 pounds the clock runs for a while then it stops. I just want to know what else I can do to get the clock to work continually.
I have already contacted customer support over 48 hours, I am just waiting for CUSTOMER SERVICE TO GET BACK TO ME.
They already have my issues and concerns.
Thank you,
No he conseguido que funcione el globo aéreo estático.
Administrator
Hi Jordi,
Thank you for your feedback.
Please contact our Customer Service Department at customerservice@ugearsmodels.com. They will get back to you within 48 hours with help in your question.
Best regards,
The Ugears Team
top! sehr präzise zusammenzubauen... und wenn Mann präzise baut, läuft dir Uhr auch erstaunlich präzise.
Riesenkompliment:-)
..Film folgt auf Youtube.. ;-)
This is the 3rd clock that I have built. each one from a different manufacturer. This was easily the best clock that I've built. It required a little bit of work to get it running and a little more to get it calibrated but that was part of the fun. My only regret is that now that it is done I can't find another clock online that I would want to build. Hopefully ugears will create something else to go on my wall soon.
Très content de mon achat, cette horloge fonctionne parfaitement. Il faut cependant désolidariser le petit ballon et son contrepoids car le fil de tension s'accroche dans les roues et stoppe la marche. En effectuant des calculs de moments d'inertie du pendule composé qui soutient l'ancre d'échappement je suis parvenu à une précision d'horloge remarquable : une petite avance d'une minute environ sur plus de 10 heures de fonctionnement : il m'a suffi d'ajouter un tout petit poids sur la partie haute du pendule, en l'essence 5 cm de fil d'étain (fil pour soudure électrique)...
Ugears finally fulfilled the wish of many fans to build a functional wall clock. I think it is one of the most beautiful models Ugears has created, if not the most beautiful. When completed It's a bit tricky to set up for proper operation (but come on, it's a CLOCK, it's difficult) but once done, it keeps track of time surprisingly precisely (my best calibration has been 5 minutes ofset in a total 24 hours period). It definitely earned its place in the entrance hall of my apartment. Hats off to the Ugears Team on this one.
An awesome model, very complex. I had a lot of difficulty getting the clock to run continuously, it would start then stop. I learned attention to detail, waxing the right parts and looking for interference between gears and frame are the key. The UGears Team has been helpful, but mostly I had to trouble shoot myself. Some of the frame parts need to be glued because under the stress of the weight, the frame moves and causes interference with gears. Mine is running now, but I still hear clicking when slow gears move, indicating either interference or lack of lubrication someplace. So far, I have not found it. Overall, a marvel of engineering and manufacturing. Thanks,
Am still building it. But find it a fascinating project. Very well made with super clear instruction manual. At moment all wheels rotate easily as far as I have got. Very much recommended especially for Corvid.
I am in the middle of building one of two Aero clocks, one was an unexpected birthday present. I notice that the dimensions of the mortise and tenon joints are more accurate in this model and I like the metal axle pins. I have used 2mm dia silver steel for some models where the cocktail sticks are nor really substantial enough. I was thinking of using lead fishing weights to provide the weight force but I am not sure I can obtain one at 5 lbs or more. I think these models can be very educational and give youngsters a different view on engineering and construction. ps, anybody who has built styrene [plastic is the wrong word] models will know that problem solving is part of the pleasure.
I build only the biggest, most demanding kits and have built many Ugears with varying results. I never managed to make the plane and helicopter fly or the windmill to spin. All the others are fine. But not the clock. This was a short, easy build, but it won't work properly. I have spent many hours trying with no success. Still, it was fun to build and looks great on the wall.
Administrator
Hi Ged,
Thank you for your message.
Please contact our Customer Service Department at customerservice@ugearsmodels.com. They will get back to you within 48 hours with help in your question.
Best regards,
The Ugears Team
I am building the watch and my first impression is that it is done very very well. The construction is going great even with the help of the PC. Everything is explained perfectly. When it's finished I'm curious to see how it works.
I bought this clock in amazon. Once assembled, and with a little extra work due to the balloon, I have managed to make it work properly, the clock goes almost exactly ticking the time. Very very happy indeed!
Missing parts. Instructions need more verbage because pictures are inadequate. English translation where there is instruction is vague. And after all that, the clock doesn't work.
Administrator
Hi Neil Heinekamp,
Thank you for your feedback.
Please contact our Customer Service Department at customerservice@ugearsmodels.com. They will get back to you within 48 hours with help in your question.
Best regards,
The Ugears Team
Very disappointed. In the past 1 1/2 years I have built over 30 wooden models including 12 from UGEARS. This is not my first clock. The clock does not work. The gears freely rotate. The weight exactly 2000 gm causes to gears to rotate though it seems slow. The pendulum does not sit perfectly vertical, the bottom is forward. I have tried adjustments and attempted to locate excessive friction points, but the clock still does not step more than 3 seconds before it stops.
Administrator
Hi Tim,
Thank you for your feedback.
Please contact our Customer Service Department at customerservice@ugearsmodels.com. They will get back to you within 48 hours with help in your question.
Best regards,
The Ugears Team
I have built several wood model kits and this has got to be the most enjoyable one so far. I love showing off this work of art and engineering to my friends. I do have to say it was pretty frustrating to get calibrated correctly. At first I couldn't get the clock to stay running with the balloon engaged without the pendulum running at full speed which makes the clock unusable because it runs to fast. When I would get the pendulum set at the right speed to keep time the clock would eventually just stop. Then I decided to try more weight. I used coins (~ 5.3 lbs) instead of salt in the bag and now it keeps time and keeps running. Very satisfied with this project.
Where is my clock preordered no sign of themy clock can you help me
Administrator
Hi George Woodring,
Thank you for your message.
Please contact us at myugears@ugearsmodels.com. We will get back to you within 48 hours with help in your question.
Best regards,
The Ugears Team
Just concerned about buying this clock, as the Royal Clock I purchased just refuses to work! Pulled it completely apart and rebuilt it, waxing all the gears etc. watched the 2.5hour video on YouTube, just in case I did something wrong, and it still refuses to work. Quite disappointing really.
Administrator
Hi Glenn,
Thank you for your feedback.
Please contact our Customer Service Department at customerservice@ugearsmodels.com. They will get back to you within 48 hours with help in your question.
Best regards,
The Ugears Team